Author: g1a34yvolves

  • veganify

    Veganify Logo

    Veganify

    Check if a product is vegan or not with » Veganify.app


    Veganify Hero
    Veganify - Check if a product if vegan/vegetarian easily and fast | Product Hunt Veganify- Check if a product if vegan/vegetarian easily and fast | Product Hunt

    Overview

    Veganify checks the barcode (EAN or UPC) of a food- or non-food-product and tells you if it is vegan or not. It is an useful tool for vegans and vegetarians – Developed with usability and simplicity in mind, so without distracting irrelevant facts or advertising. Veganify combines the Databases of OpenFoodFacts, OpenBeautyFacts and Open EAN Database, as well as our very own ingredient checker in one tool.

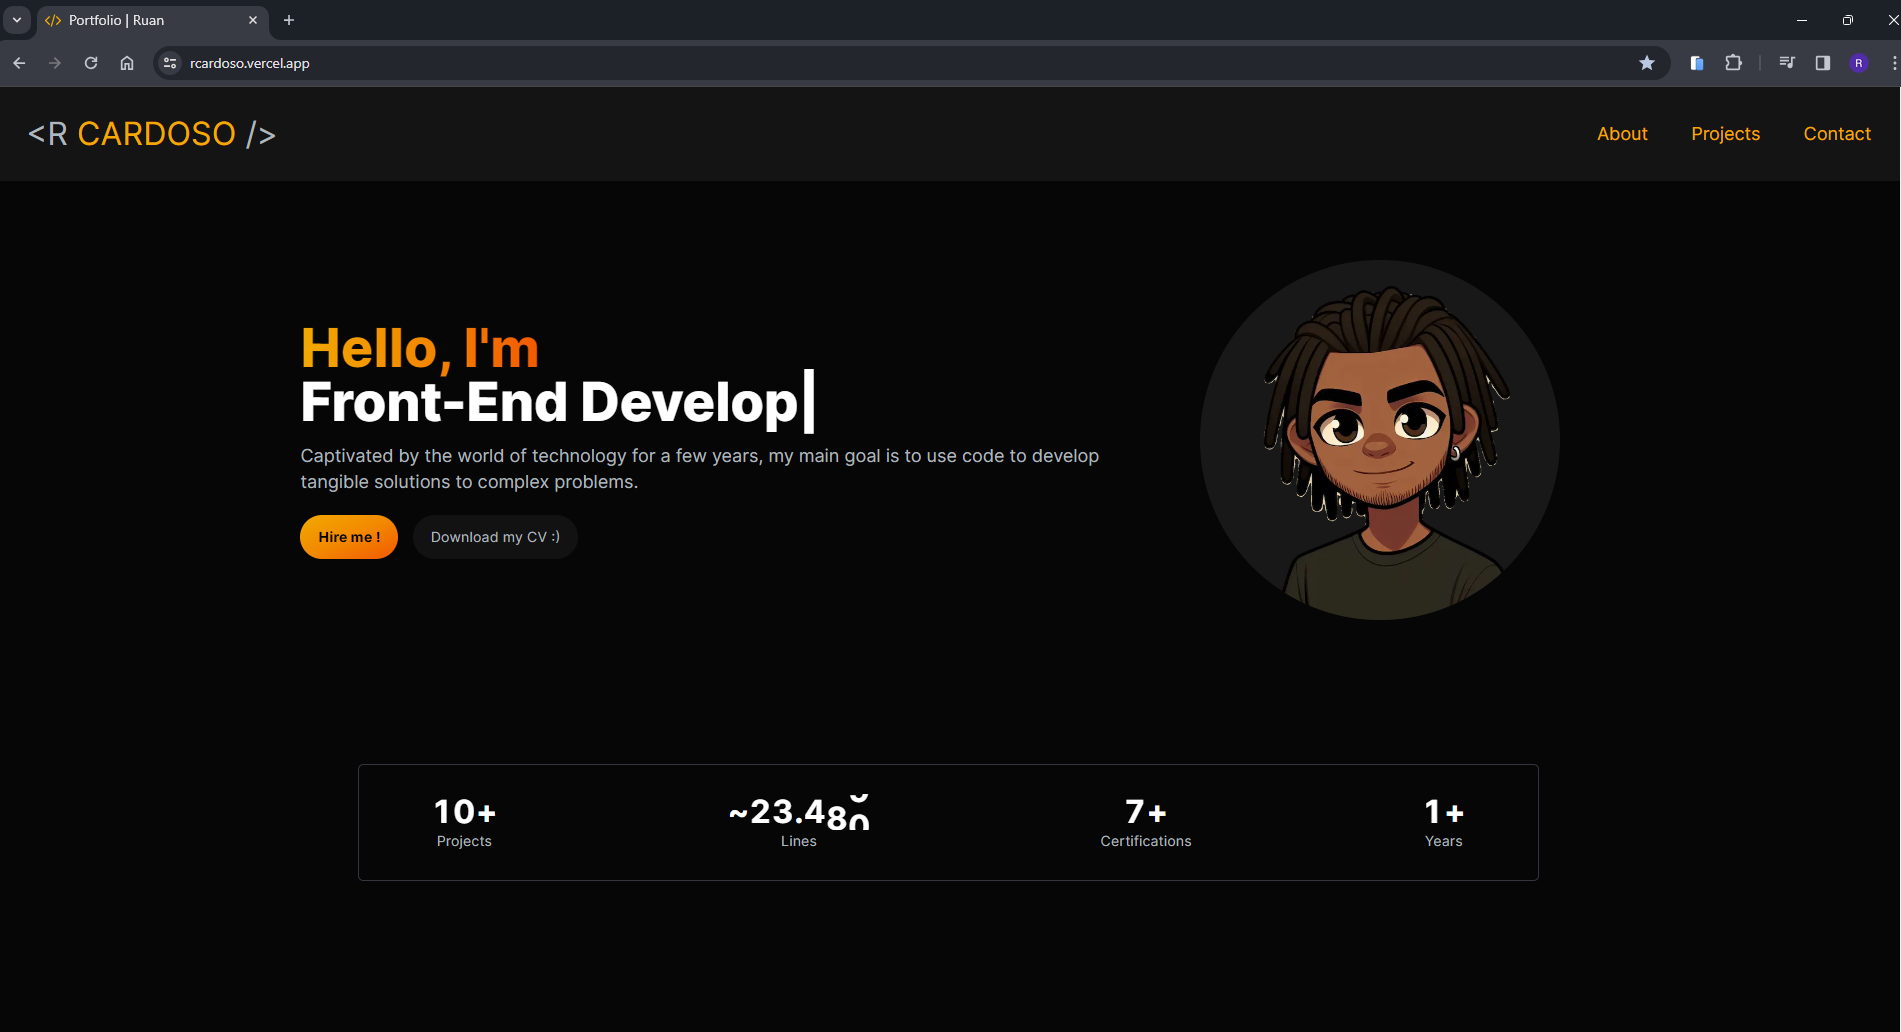
    See an example of how it works!

    The Veganify Ingredients API checks the products ingredients against a list of thousands of non-vegan items.

    Open PWA in browser | Product page on FrontEndNetwork | Use the API | iOS Shortcut | Uptime Status

    Developer Guide

    Tip

    We’re using Conventional Commits for commit messages. Please follow this convention when making changes.

    Prerequisites

    • Node.js 20 or later
    • pnpm (enabled via corepack)

    To enable pnpm using corepack:

    corepack enable
    corepack prepare pnpm@latest --activate

    Getting Started

    1. Clone the repository:

      git clone https://github.com/frontendnetwork/veganify.git
      cd veganify
    2. Install dependencies & start dev server:

      pnpm install
      pnpm dev

    Project Structure

    src/
    ├── @components/
    │   ├── shared/
    │   ├── ComponentName/
    │   │   ├── hooks/      			# Component-specific hooks
    │   │   ├── utils/      			# Component-specific utilities
    │   │   │	├── util.ts
    │   │   │	└──	util.test.ts		# Utility specify tests
    │   │   ├── models/     			# Component-specific types/interfaces
    │   │   ├── componentPart.tsx		# Component files
    │   │   └── index.tsx				# Component files
    ├── @models/        # Global type definitions
    ├── styles/         # CSS styles
    ├── tests/          # Only test setup files & Playwright tests
    └── locales/        # next-intl translation files
    

    Development Commands

    # Start development server
    pnpm dev
    
    # Run linting
    pnpm lint
    
    # Run type checking
    pnpm check-types
    
    # Run unit tests
    pnpm test
    
    # Run end-to-end tests
    pnpm test:e2e
    
    # Build for production
    pnpm build

    Development Guidelines

    Note

    We’re aware not everything in this repo follows those standards. This is because of how the project was started and evolved. We’re working on improving this.

    Component Structure

    • Break down components into smaller, reusable pieces
    • Each significant component should have its own directory with the following structure:
      • hooks/ for component-specific hooks
      • utils/ for component-specific utilities
      • models/ for component-specific types
    • Small, simple components can be single files

    Testing

    • All utility functions must have 100% test coverage
    • Tests are written using Jest for unit testing
    • Components currently don’t require test coverage
    • Playwright is used for end-to-end testing but currently only coversa few basics use cases. More tests are needed.

    TypeScript

    • TypeScript is mandatory
    • The any type is not acceptable unless absolutely necessary
    • Always define proper interfaces and types in the appropriate models folder
    • Use type inference when possible

    Internationalization

    • Use next-intl for translations
    • Add new translations to all language files in /locales
    • Follow the existing translation key structure

    Code Style

    • Follow Node.js, React, and Next.js best practices
    • Use the App Router pattern for routing
    • Keep components pure and functional when possible
    • Use hooks for state management and side effects
    • Follow the DRY (Don’t Repeat Yourself) principle
    • Use meaningful variable and function names
    • Write comments for complex logic
    • Keep functions small and focused

    Styling

    • Place all styles in the styles folder
    • Keep styles modular and scoped to components when possible
    • Be sure to use SCSS for styling
    • Use CSS variables for theming and repeated values

    When making a contribution, please follow these guidelines to ensure consistency and maintainability.

    Remember that every contribution, no matter how small, is valuable to the project. Thank you for helping make Veganify better!

    Support

    Please refer to our issue trackers to see where you could help:

    Veganify on Inlang

    or if you find something else you could improve, just open a new issue for it!

    Support us

    Consider Sponsoring Buy us a coffee Donate

    Premium Supporters

    Dependencies & Credits

    This repo uses:

    License

    All text and code in this repository is licensed under MIT, © 2024 Philip Brembeck, © 2024 FrontEndNetwork.

    Visit original content creator repository https://github.com/frontendnetwork/veganify
  • viziquer-tools

    ViziQuer Tools

    This repository contains scripts and initial data for starting your own copy of ViziQuer Tools as a set of interlinked containers.

    This repository is an integrator module + initial data; the tools themselves come from the following repositories:

    For more information on the ViziQuer tools family, please visit viziquer.lumii.lv.

    Acknowledgement

    The repository has been developed at Institute of Mathematics and Computer Science, University of Latvia,
    with support from Latvian Science Council grant lzp-2021/1-0389 “Visual Queries in Distributed Knowledge Graphs” (2022-2024).

    Requirements

    You should have a Docker-compatible environment installed (e.g. Docker Desktop, Podman, OrbStack, …).

    Any Linux server with Docker components installed will also be sufficient, either on cloud or on-premise.

    You should have some free disk space for the data and for container images.

    Before First Start

    Download this git repository, or clone it to a local directory of your choice.

    Create a file .env as a copy of sample.env, and configure it to your preferences (ports, passwords, etc.)

    Start/Stop the Tools

    Start the Tools by issuing the commands:

    cd viziquer-tools
    docker-compose up -d

    On the first start, the required images will be pulled from registries, and the databases will be populated with starter data.

    To stop the Tools, issue the command

    cd viziquer-tools
    docker-compose down

    Note: Depending on your version of container tools, instead of docker-compose ... you may need to use docker compose ....

    Using ViziQuer Tools

    ViziQuer Tools are available via any modern Internet browser via addresses http://localhost:%port%.

    The following addresses are shown assuming you used the default ports provided in sample.env

    You can connect to the ViziQuer via http://localhost:80

    You can connect to the pgAdmin via http://localhost:9001; on first start you will be asked for the password for the rdfmeta user

    The DSS instance API is available via http://localhost:9005

    The Postgres server is available at localhost:5433

    Populating the Data

    Initially, two example schemas are included: Nobel_prizes and Starwars.

    To add a schema for another endpoint, whether public or your own, follow these two steps:

    • extract the schema from the endpoint
    • import the schema into ViziQuer Tools

    Note: it is planned to automate these steps in some of the next releases.

    Alternatively, existing schemas (e.g., created on other servers) can be uploaded.

    Extracting the schema from the endpoint

    To extract a schema from an endpoint, you should use OBIS-SchemaExtractor, version 2, and follow the instructions there.

    Importing the schema into ViziQuer Tools

    Once you have obtained a JSON file with the extracted schema, you need to import this JSON file into ViziQuer Tools.

    Currently, to import the schema, use the importer module
    from the Data Shape Server repository.

    Data schema uploading

    An existing SQL database schema script (like the ones in ./db/init/pg directory) can be executed against the database instance to create a new schema.
    Manual updates of tables schemata and endpoints in the public schema are needed to make this information accessible from the visual environment
    (auto-update of these tables is performed for schemas loaded during the fresh start (restart from scratch) of the system).

    (Re)starting from scratch

    Data from the directories ./db/init/pg and ./db/init/mongo will be imported on first start of the system.

    To restart later from scratch, remove the following directories:

    • ./db/pg to restart with a fresh DSS database content
    • ./db/mongo to restart with fresh content of ViziQuer projects database

    and then restart the Tools, as in the following commands:

    cd viziquer-tools
    docker-compose down
    rm -rf db/pg
    docker-compose up -d

    (Re)starting from scratch can be used also for auto-uploading of schema scripts created elsewhere.
    For that, place the schema scripts in the ./db/init/pg folder before the fresh start of the system
    (please prefix the script file names by a unique 2-digit number, less than 99, followed by _, as, e.g., 07_).

    Updating components

    cd viziquer-tools
    docker-compose down
    docker-compose pull
    docker-compose up -d

    Uninstalling ViziQuer Tools

    Just delete the directory ./viziquer-tools with all its subdirectories.

    Note: Don’t forget to export your project data before uninstalling ViziQuer Tools.

    Visit original content creator repository
    https://github.com/LUMII-Syslab/viziquer-tools

  • vue-online-shop-frontend

    从零到部署:用 Vue 和 Express 实现迷你全栈电商应用

    【已完成】这里是《从零到部署:用 Vue 和 Express 实现迷你全栈电商应用》系列教程的源代码仓库。

    项目预览

    Lark20200323-131207.gif

    项目界面说明

    首页

    主要有首页头部导航栏以及展示本地商品信息的列表,列表主要展示了本地商品的名称、介绍、价格、生产商以及添加购物车操作。

    后台管理页面

    主要用于对商品以及生产商的后台管理,包括查看商品(可以进行修改商品信息)、添加商品、查看生产商(可以进行修改生产商信息)以及添加生产商。

    查看商品页面

    主要展示了后台商品的名称、价格、制造商以及修改和删除操作。

    添加/修改商品页面

    展示一个表单页面,主要用于添加一个新商品或者对指定商品信息进行修改。

    查看制造商页面

    主要展示了后台制造商的名称以及修改和删除操作。

    添加/修改制造商页面

    展示一个表单页面,主要用于添加一个新制造商或者对指定制造商信息进行修改。

    购物车页面

    主要用于展示添加到本地购物车的商品信息列表,列表主要展示了购物车商品的名称、介绍、价格、生产商以及移出购物车操作。

    体验项目

    克隆仓库,开启前端和后端服务服务:

    • 克隆仓库然后进入该仓库:
    git clone https://github.com/tuture-dev/vue-online-shop-frontend.git
    cd vue-online-shop-frontend

    使用 Docker 一键开启服务

    确保安装 Docker,然后执行如下命令:

    docker-compose up

    手动开启服务

    数据库

    下载安装和启动 MongoDB:https://www.mongodb.com/

    前端:

    在项目目录下:

    cd client
    npm install # yarn
    npm start # yarn start
    后端

    在项目目录下:

    cd server
    npm install # yarn
    npm start # yarn start

     教程内容概要

    1. 从零到部署:用 Vue 和 Express 实现迷你全栈电商应用(一)
      用 Vue 搭建前端项目的骨架,实现基于嵌套、动态路由的多页面跳转。

    2. 从零到部署:用 Vue 和 Express 实现迷你全栈电商应用(二)
      我们通过基于 Node.js 平台的 Express 框架实现了后端 API 数据接口,并且将数据存储在 MongoDB 中。这样我们的网站就能够记录用户添加的商品,并且无论以后什么时候打开,都能获取我们之前的记录。

    3. 从零到部署:用 Vue 和 Express 实现迷你全栈电商应用(三)
      我们讲解了 Vue 实例的 Props 和 Methods,接着我们又讲解了最常见的 Vue 模板语法,并通过实例的方式将这些模板语法都实践了一番,最后我们讲解了 Vue 组件的组合,并完成了我们的发表商品页面。

    4. 从零到部署:用 Vue 和 Express 实现迷你全栈电商应用(四)
      我们使用了状态管理库 Vuex 并带大家熟悉了 Store、Mutation 和 Action 三大关键概念,然后升级了迷你商城应用的前端代码。

    5. 从零到部署:用 Vue 和 Express 实现迷你全栈电商应用(五)
      我们带大家抽出了 Vue 组件从而简化页面逻辑,使用 Vuex Getters 复用本地数据获取逻辑。

    6. 从零到部署:用 Vue 和 Express 实现迷你全栈电商应用(六)
      我们带大家一起学习了如何抽出 Getters 、 Mutations 和Actions 逻辑实现store的“减重”以及如何干掉 mutation-types 硬编码。

    7. 从零到部署:用 Vue 和 Express 实现迷你全栈电商应用(七)
      我们基于element-ui组件库重构了项目的前端代码,改善迷你电商应用的界面效果,提高用户的体验感;并且从试错的角度带大家一起踩了代码重构造成的一系列坑。

    8. 从零到部署:用 Vue 和 Express 实现迷你全栈电商应用(八)
      我们首先使用 Docker 来容器化应用,接着教大家配置了 MongoDB 的身份验证机制,给数据库添加一份安全守护,最后我们教大家使用阿里云的容器镜像服务将整个全栈应用部署到了云端,使互联网上的用户可以访问我们的网站。

    反馈

    欢迎对此教程的内容进行反馈(无论是疑问还是改进意见),可以在文章下方留言,也可以在此仓库创建 Issue!

    联系我们

    • 微信公众号:关注公众号,加图雀酱微信拉你进学习交流群
    • 掘金
    • 知乎专栏
    • 知乎圈子:搜索 图雀社区
    • 也可以直接扫码下方的二维码关注微信公众号哦:

    ****

    许可证

    MIT。

    Visit original content creator repository https://github.com/tuture-dev/vue-online-shop-frontend
  • Portfolio-Website

    Portfolio 📚

    GitHub language count Repository size GitHub last commit License Stargazers

    ✅ Projeto finalizado ✅

    Sobre | Deploy | Como utilizar | Preview | Tecnologias | Autor | Licença

    💻 Sobre

    Este projeto consiste em um portfolio pessoal para fins de divulgação e compartilhamento dos meus conhecimentos adquiridos em cursos de desenvolvimento e projetos finalizados. Esse website foi completamente desenvolvido utilizando React com o framework Next.


    🔗 Deploy

    O deploy da aplicação pode ser acessado através da seguinte URL: https://rcardoso.vercel.app


    🚀 Como utilizar

    Pré-requisitos

    Antes de realizar o download do projeto, é necessário instalar na sua máquina as seguintes ferramentas:

    Além disto é importante uma IDE para manipular o código, como o VSCode

    Clonando e Executando

    Passo a passo para clonar e executar a aplicação na sua máquina:

    # Clone este repositório
    $ git clone git@github.com:RuanCxrdoso/Portfolio-Website.git
    
    # Acesse a pasta do projeto no terminal
    $ cd Portfolio-Website
    
    # Instale as dependências
    $ npm install
    
    # Execute a aplicação em modo de desenvolvimento
    $ npm run dev
    
    # A aplicação inciará em alguma porta disponível que poderá ser acessada pelo navegador

    🎨 Preview

    Preview 1

    Project cover

    Preview 2

    Project cover

    Preview 3

    Project cover


    🛠 Tecnologias

    As seguintes bibliotecas foram utilizadas no desenvolvimento do projeto:

    Para mais detalhes das libs aplicadas no projeto cheque o arquivo package.json


    ✍ Autor

    Perfil Github

    Linkedin Badge

    Gmail Badge


    📝 Licença

    Este projeto está sob a licença MIT. Consulte o arquivo LICENSE para mais informações

    Feito com 💛 por Ruan 👋🏽 Entre em contato!

    Visit original content creator repository https://github.com/RuanCxrdoso/Portfolio-Website
  • Internship-CNRS—ESPCI

    Internship-CNRS-ESPCI

    the goal of this project is to analyse the behavior of three mice placed together in a cage, that are being filmed and tracked constantly with Live Mouse Tracker.
    We measured differents parameters, the number of times that a mouse presses a lever, that delivers a pelet of food at a different location, (named Lever), the number of times a mouse goes to look for food at the feeder, (named Beam), and that is measured by the number of times a beam is broken in the feeder, and lastly the number of complete sequences, which is when the same mouse takes less than 6 seconds to go to the feeder after pressing the lever.
    We established with these measures several profiles among the mice, and analysed other parameters such as the number of stolen pelets, the position of the mouse when the other the lever is pressed, or where the mice come from when they visit the feeder etc, to try to collect other information.

    The R scripts are analysis and statistical tests to try to find correlation and schemes, and make different graphs.

    Visit original content creator repository
    https://github.com/Bertille14/Internship-CNRS—ESPCI

  • polinemaroomsystem

    Laravel Logo

    Build Status Total Downloads Latest Stable Version License

    About Laravel

    Laravel is a web application framework with expressive, elegant syntax. We believe development must be an enjoyable and creative experience to be truly fulfilling. Laravel takes the pain out of development by easing common tasks used in many web projects, such as:

    Laravel is accessible, powerful, and provides tools required for large, robust applications.

    Learning Laravel

    Laravel has the most extensive and thorough documentation and video tutorial library of all modern web application frameworks, making it a breeze to get started with the framework.

    You may also try the Laravel Bootcamp, where you will be guided through building a modern Laravel application from scratch.

    If you don’t feel like reading, Laracasts can help. Laracasts contains over 2000 video tutorials on a range of topics including Laravel, modern PHP, unit testing, and JavaScript. Boost your skills by digging into our comprehensive video library.

    Laravel Sponsors

    We would like to extend our thanks to the following sponsors for funding Laravel development. If you are interested in becoming a sponsor, please visit the Laravel Patreon page.

    Premium Partners

    Contributing

    Thank you for considering contributing to the Laravel framework! The contribution guide can be found in the Laravel documentation.

    Code of Conduct

    In order to ensure that the Laravel community is welcoming to all, please review and abide by the Code of Conduct.

    Security Vulnerabilities

    If you discover a security vulnerability within Laravel, please send an e-mail to Taylor Otwell via taylor@laravel.com. All security vulnerabilities will be promptly addressed.

    License

    The Laravel framework is open-sourced software licensed under the MIT license.

    Visit original content creator repository https://github.com/alizul01/polinemaroomsystem
  • flink-recommandSystem-demo

    Visit original content creator repository
    https://github.com/yanfeiLee/flink-recommandSystem-demo

  • revu-cli

    Logo

    revu is a comprehensive command-line tool designed to streamline the code review process. Leveraging the advanced capabilities of GPT-4 and the GitHub API, it can analyze and provide insightful reviews on pull requests, local changes, and individual files. Additionally, revu offers an intuitive commit message generator that uses local diffs and commit history to propose appropriate commit messages. Its flexible nature aims to cover various aspects of code review, offering an efficient toolset for developers.

    ⚠️ Disclaimer: This is a test project. The reviews generated by this tool may not always be accurate, useful, or make sense. Always perform manual code reviews to ensure the quality of your code.

    Getting Started

    Prerequisites

    • You’ll need to have Node.js and npm installed on your machine.
    • An OpenAI API key for using GPT-4 and a GitHub token for accessing the GitHub API.

    Switching to GPT-4 Model

    revu is initially set to use the GPT-3.5-turbo model. If you wish to switch to GPT-4, you can do so by modifying your revu.json config file:

    1. Run the config command if you haven’t done so already. This will generate the revu.json config file:
    revu config
    1. Locate your revu.json config file. By default, it is saved in the .revu directory in your home directory (~/.revu).
    2. Find the llm section and then the openai subsection within it.
    3. Change the value of openaiModel from gpt-3.5-turbo to gpt-4.
    4. Save and close your revu.json config file.

    Remember that using GPT-4 may result in increased API costs. Please refer to OpenAI’s pricing for more information.

    Installation

    You can install revu globally using npm by running the following command:

    npm i -g revu-cli

    Alternatively, you can clone the repository and install the dependencies locally:

    1. Clone the repository:
    git clone https://github.com/phmz/revu-cli.git
    1. Navigate to the project directory:
    cd revu-cli
    1. Install dependencies:
    npm install
    1. Build the project:
    npm run build

    Usage

    Before using revu, you need to set up the configuration with your OpenAI API key and GitHub token. You can do this with the following command:

    revu config

    This will prompt you to enter your OpenAI API key and GitHub token.

    For a comprehensive list of all available commands and options in revu, run the help command:

    revu help

    This will display a list of all the available commands, their descriptions, and options you can use with revu.

    Environment Variables

    revu can also be configured using environment variables. If an environment variable is not provided, revu will use the default value.

    Here are the available environment variables:

    • GIT_MAX_COMMIT_HISTORY: Maximum number of commit history entries to fetch (default: 10).
    • GIT_IGNORE_PATTERNS: A comma-separated list of regular expression patterns of files to ignore (default: []).
    • GITHUB_API_URL: Custom URL for the GitHub API (default: https://api.github.com).
    • GITHUB_TOKEN: GitHub personal access token.
    • OPENAI_API_URL: Custom URL for the OpenAI API (default: https://api.openai.com).
    • OPENAI_API_KEY: OpenAI API key for accessing the OpenAI API.
    • OPENAI_MODEL: OpenAI model to use (default: gpt-3.5-turbo).
    • OPENAI_TEMPERATURE: Temperature parameter for OpenAI model (default: 0).

    Local Code Review

    revu can analyze local changes in two ways:

    1. Analyzing all local changes

    If you want to analyze your local changes, navigate to the root directory of your local Git repository and run the following command:

    revu local

    revu will then analyze your local changes and provide you with a review.

    2. Analyzing a specific file

    If you want to analyze a specific file in your local directory, navigate to the root directory of your local Git repository and run the following command:

    revu local --directory <directory> --filename <filename>

    Replace <directory> with the relative path of the directory to search and <filename> with the name of the file to review.

    Generate Commit Message

    revu can propose commit messages based on local diffs and commit history. To use this feature, run the following command:

    revu commit

    revu will prompt you to select the files you wish to commit. Once the files are selected, revu fetches the commit history and proposes a commit message. If you agree with the suggested commit message, you can proceed to commit your changes right away. If there are unselected files left, revu will ask you if you wish to continue the commit process.

    Pull Request Review

    If you want to analyze a pull request, run the following command:

    revu pr <repository> <pull_request_number>

    Replace <repository> with the repository to review in the format owner/repository, and <pull_request_number> with the number of the pull request to review. For example:

    revu pr phmz/revu 42

    revu will then fetch the pull request details, analyze the changes, and provide you with a review.

    Ignoring Files

    The revu CLI tool allows you to ignore certain files during your review process by using regular expression patterns. You can define these patterns either through a configuration file or via an environment variable. The CLI tool will ignore files that match any of the provided patterns.

    Via Configuration File

    You can define an array of ignorePatterns under the git section in your revu.json configuration file, like so:

    {
      "git": {
        "ignorePatterns": [".*lock.*", "another_pattern", "..."]
      }
    }

    Via Environment Variable

    Alternatively, you can use the GIT_IGNORE_PATTERNS environment variable to define a comma-separated list of regular expression patterns:

    export GIT_IGNORE_PATTERNS=.*lock.*,another_pattern,...

    Pipeline Integration

    revu can be seamlessly integrated into your GitHub pipeline. This allows automatic code review for every commit in a pull request with the review results posted as a comment on the PR. Detailed instructions on how to set up this integration can be found in the pipeline integration guide.

    Development

    revu is built with TypeScript. Contributions are welcome!

    Code style

    This project uses ESLint for linting.

    You can run the linter with:

    npm run lint
    Visit original content creator repository https://github.com/phmz/revu-cli
  • CanvasJS-Chart-FullScreen

    Toggle CanvasJS Chart to Fullscreen

    This plugin allows you to toggle CanvasJS chart to fullscreen

    CanvasJS

    CanvasJS is built from ground up for high performance data visualization and can render millions of data points in a matter of milliseconds. Charts are beautiful and API is very simple to use. CanvasJS Chart Fullscreen

    How to Use?

    Importing Script

    Import the CanvasJS & CanvasJS Toggle FullScreen scritps

    /* HTML Script Tag */
    <script src="https://canvasjs.com/assets/script/canvasjs.min.js"></script>
    <script src="https://cdn.jsdelivr.net/npm/canvasjs-charts-toggle-fullscreen/dist/canvasjschart-fullscreen.min.js"></script>
    
    /* or */
    import CanvasJS from './canvasjs.min';
    window.CanvasJS = CanvasJS;
    require('canvasjs-charts-toggle-fullscreen');
    
    /* React */
    import CanvasJSReact from './canvasjs.react';
    window.CanvasJS = CanvasJSReact.CanvasJS;
    require('canvasjs-charts-toggle-fullscreen');
    

    Pass chart-options & render the chart

    • Set toggleFullScreen to true under chart option
    • Render the chart
    var chart = new CanvasJS.Chart("chartContainer", {
        .
        .
        .
    	toggleFullScreen: true,
        //Chart Options
        .
        .
        .
    });
    chart.render();
    
    Note:
    • Plugin was last tested with CanvasJS Chart v3.7.2GA
    • This plugin requires you to have CanvasJS License. Please visit CanvasJS for more info.

    BuyMeACoffee

    Visit original content creator repository https://github.com/vishwas-r/CanvasJS-Chart-FullScreen
  • ecg-view-II-machine-learning

    Explainable Prediction of Acute Myocardial Infarction using Machine Learning and Shapley Values

    This repository is the official implementation of Explainable Prediction of Acute Myocardial Infarction using Machine Learning and Shapley Values published in IEEE Access in November 2020.

    Requirements

    pip3 install -r requirements.txt
    
    • To obtain the ECG ViEW II dataset, please use this form. After recieving the unprocessed files, follow the data processing steps below.

    Data Processing

    To process the ECG-ViEW II dataset as it is done in the paper (with robust scaling and SMOTE), run this notebook.

    This notebook will produce two csv files, test.csv and train.csv, that you can then train/evaluate models with.

    Training

    • To train the CNN model in the paper, run this notebook.
    • To train the RNN model in the paper, run this notebook.
    • To train the XGBoost model in the paper, run this notebook.

    These notebooks will train the model and save it in a file that can be imported for evaluation later (described in the next section).

    Evaluation

    • To evaluate the CNN on the processed ECG-ViEW II data, run this notebook.
    • To evaluate the RNN on the processed ECG-ViEW II data, run this notebook.
    • To evaluate the XGBoost on the processed ECG-ViEW II data, run this notebook.

    To reproduce the results in the paper, use the pretrained models. Additionally, to train and evaluate models without the age and sex features, please see these folders (CNN, RNN).

    Pre-trained Models

    You can download pretrained models here: With age and sex:

    • CNN trained on ECG-ViEW II
    • RNN trained on ECG-ViEW II
    • XGBoost trained on ECG-ViEW II

    Without age and sex:

    • CNN trained on ECG-ViEW II
    • RNN trained on ECG-ViEW II
    • XGBoost trained on ECG-ViEW II

    Results

    Our models achieve the following performances:

    Model Accuracy F1 Score AUROC Sensitivity Specificity
    CNN 89.9 % 89.0 % 90.7 % 88.1 % 93.2%
    RNN 84.6 % 82.2 % 82.9 % 78.0 % 87.8 %
    XGBoost 97.5 % 97.1 % 96.5 % 93.5 % 99.4 %

    Shapley Analysis

    Shapley analysis on the XGBoost model shows that age, ACCI, and QRS duration are the most crucial variables in the prediction of the onset of AMI, while sex is of relatively less importance. The Shapley analysis is shown to be a promising technique to uncover the intricacies and mechanisms of the prediction model, leading to higher degree of interpretation and transparency.

    The local explanation summary (beeswarm) plot gives an overview of the impact of features on the prediction, with each dot representing the Shapley value of every feature for all samples.

    The global feature importance plot shows the average absolute of the Shapley values over the whole testing dataset. Age (Birthyeargroup), ACCI, and QRS duration were observed to be the most important features for the prediction.

    Contributing

    This work is licensed under a Creative Commons Attribution 4.0 License. For more information, see https://creativecommons.org/licenses/by/4.0/

    Visit original content creator repository https://github.com/lujainibrahim/ecg-view-II-machine-learning